It’s funny how fashions change, isn’t it? In the sartorial world, we’re currently seeing the return of outlandish styles from the 1990s; meanwhile, in the cosmetics world, traditional bar soaps that had long been thought outmoded are very much back in vogue.
Article Contents
What equipment do you need to make melt and pour soap?
Melt and pour soap making method
How to select fragrances when making soap
Melt and pour recipes for summer 2020
What equipment do you need to make melt and pour soap?
Making your own soap is a simple process. It’s very easy to get started and does not require technical equipment. Everything you need can be found in a typical home kitchen.
To make melt and pour soap, you will need the following equipment:
Melt and pour soap base
A microwave
Fragrance
Liquid soap dye
A measuring jug
A spatula
A set of scales (ideally digital)
A soap cutter or large, sharp knife
A soap mould
Rubbing alcohol in a spray bottle
Plastic wrap
Melt and pour soap making method
The method for making melt and pour soap is broken down into four different stages: cutting and melting; adding colour and fragrance; moulding and setting; and finally, cutting and finishing.
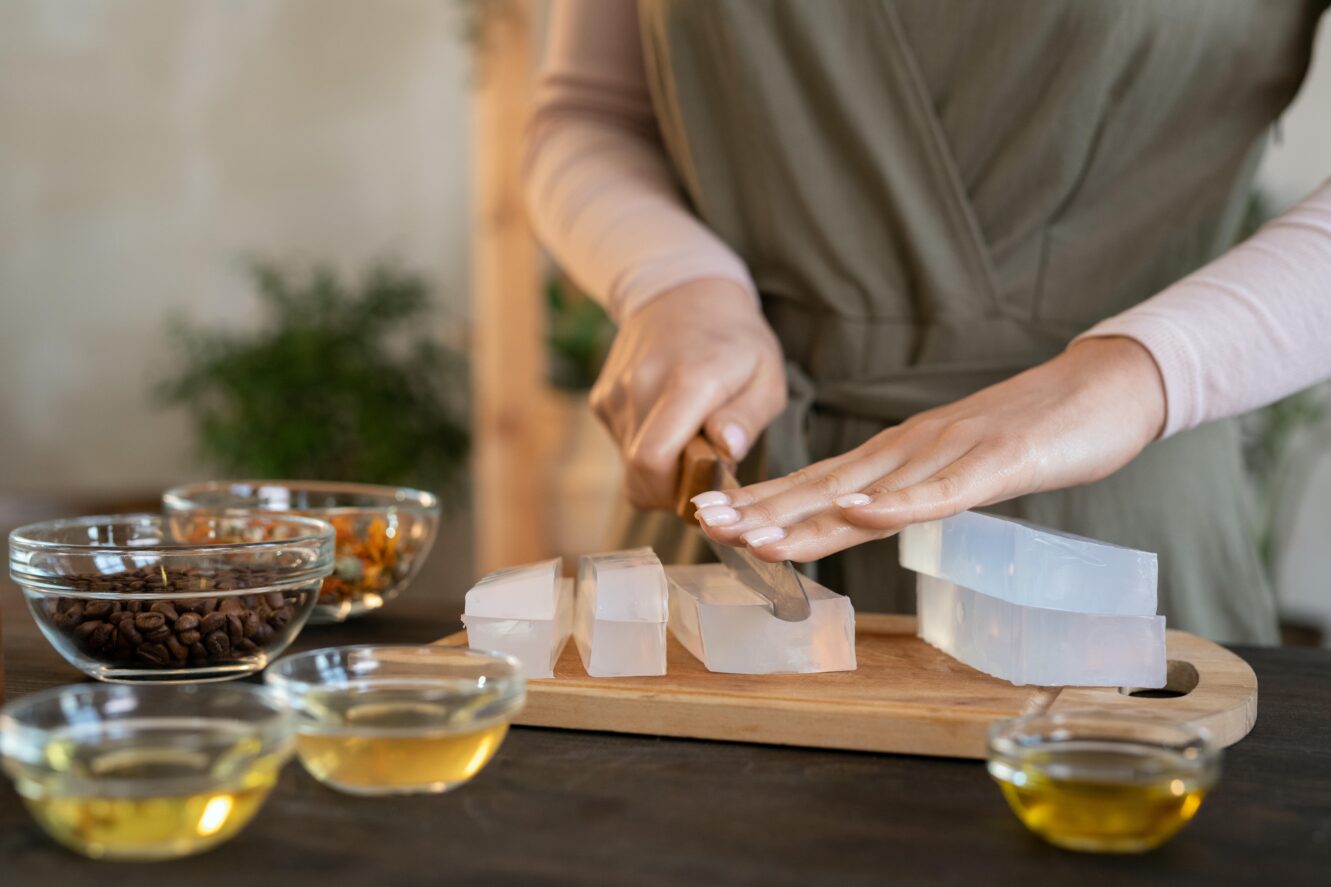
Cut and melt the soap base
1. Being by cutting your soap base into small chunks. The exact size of each chunk is not critical – this can be a rough process, like breaking up chocolate.
2. Measure the weight of your base using the scales – the quantity required per batch of soap will vary from brand to brand.
3. Place your broken-up soap base into a microwaveable container and microwave for between 30 – 60 seconds.
4. Remove the container and stir with your spatula until you have a smooth liquid. If chunks remain, return to microwave for a further 30 – 60 seconds before stirring again. (Use multiple, short periods of microwaving with frequent checking and stirring in between to avoid overheating your soap base.)
Adding colour and fragrance
1. Once the base is a smooth liquid, you can add liquid soap dye to give your soap colour. Only a small quantity of dye is needed for each batch of soap, so add just a drop or two at a time and stir to evenly distribute.
2. When you are pleased with your colour, it is time to add the fragrance. This is one of the most important elements of any soap so choose your fragrances carefully. (We will cover fragrance choice in more detail below.)
3. Stir in your fragrance, or blend of fragrances, for around half a minute.
Moulding and setting
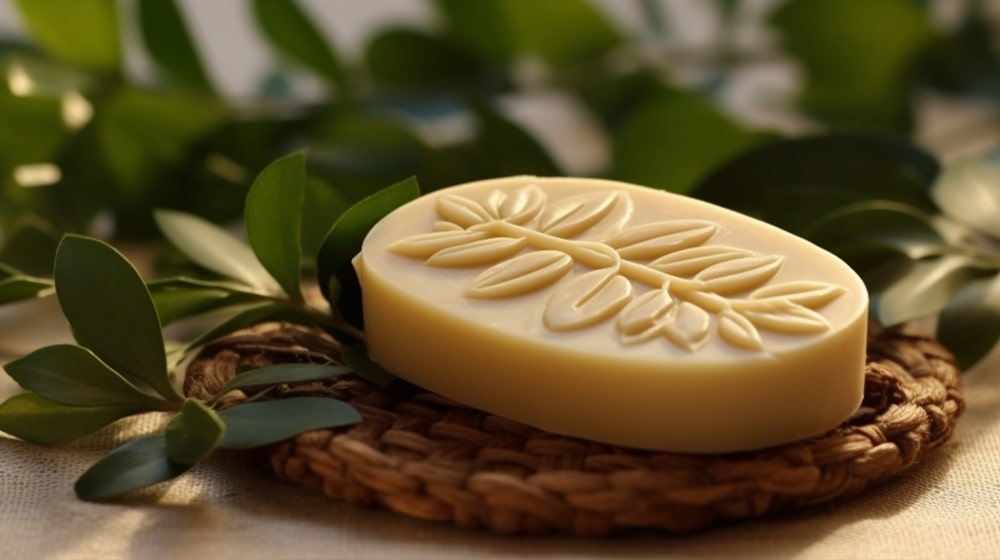
1. Now the soap is ready to be placed into a mould and left to set. Pour the soap mixture into your mould, taking care to fill evenly and allowing the liquid to run into all grooves and any intricate features of your design.
2. If any air bubbles appear on the surface of your soap, use the rubbing alcohol to spray them. This will remove them and leave a smooth finish.
3. Cover the mould with plastic wrap and allow your soap to set for 24 hours.
Cutting and finishing
1. After the 24 hour setting period, you can unwrap your soap and test the surface by applying very light pressure with your finger. If there is any give in the surface, recover with plastic wrap and allow further time to set. If the soap is firm, it is ready to be removed from the mould.
2. Loosen the edges of your mould and turn out the soap onto a sanitized surface. Press the mould from behind and do not attempt to use sharp tools to pry the soap out as this could damage the mould or ruin the finish of the soap.
3. Once the soap is free of the mould, use your soap cutter or sharp knife to cut right through the grooves that mark the edge of each soap portion. Cut as precisely as possible and try to avoid a sawing motion so that each bar is left with a clean edge.
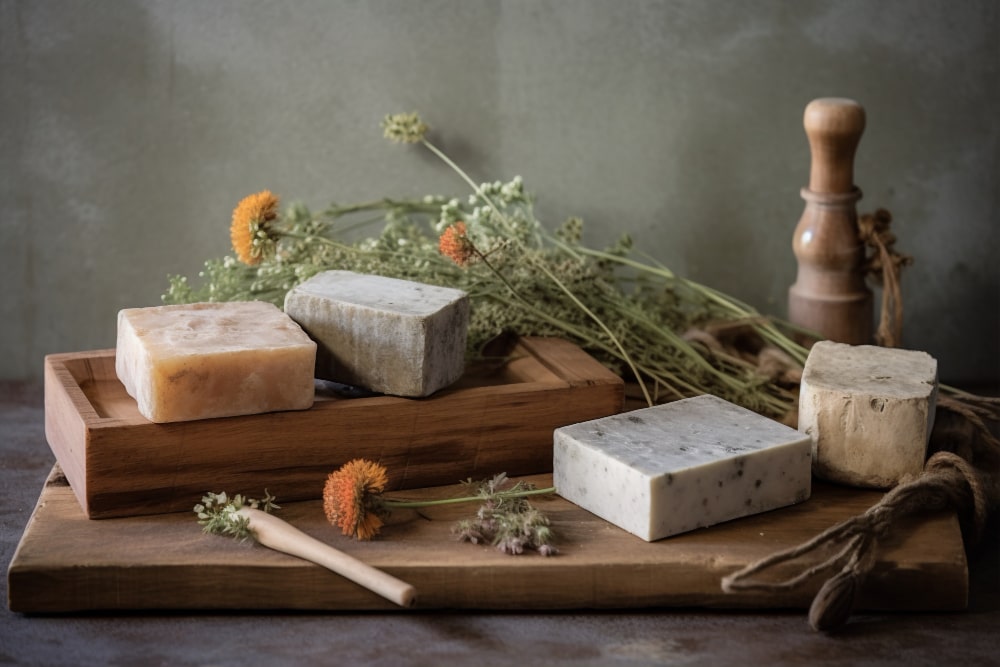
4. Wrap your bars in wax paper or plastic and store in a cool place.
5. Your soap is now ready to be sold! All that remains is to add the outer packaging and branding to make your product stand out.
How to select fragrances when making soap
Newcomers to melt and pour soap making can often feel slightly overwhelmed by the prospect of choosing fragrances for their soaps. Like stepping into a vast supermarket, the wide selection available is a delight, but also a challenge. How do you go about sifting through all the options and end up with the most suitable choices?
A good way to start when you’re selecting fragrances is to stick with single scents. This might sound like an overly conservative approach but it’s the safest way to begin your journey into the world of soap making and will avoid any wastage and disappointments. Beloved fragrances such as rose or lavender always work beautifully as standalone scents for bar soap and never fail to please.
As you gain confidence and experience you can start to re-create some timeless fragrance combinations such as mint with tea tree or grapefruit with orange. (These strong pairings also lend themselves well to layered soap bar designs using two different colours in one bar for a striking appearance.)
Finally, you can move on to experimenting with fragrance combinations of your own. By precisely blending multiple fragrances you will develop your understanding of the art of perfumery, thinking about top notes, middle notes, bass notes and the overall tone of your soap fragrance.
Melt and pour recipes for summer 2020
With summer just around the corner, we thought a nice way to finish our ultimate melt and pour soap making guide would be to leave you with some recipe inspiration for soaps that work well in warm weather. When the sun is out and the weather is hot, we typically shower more often and generally want light, refreshing fragrances.
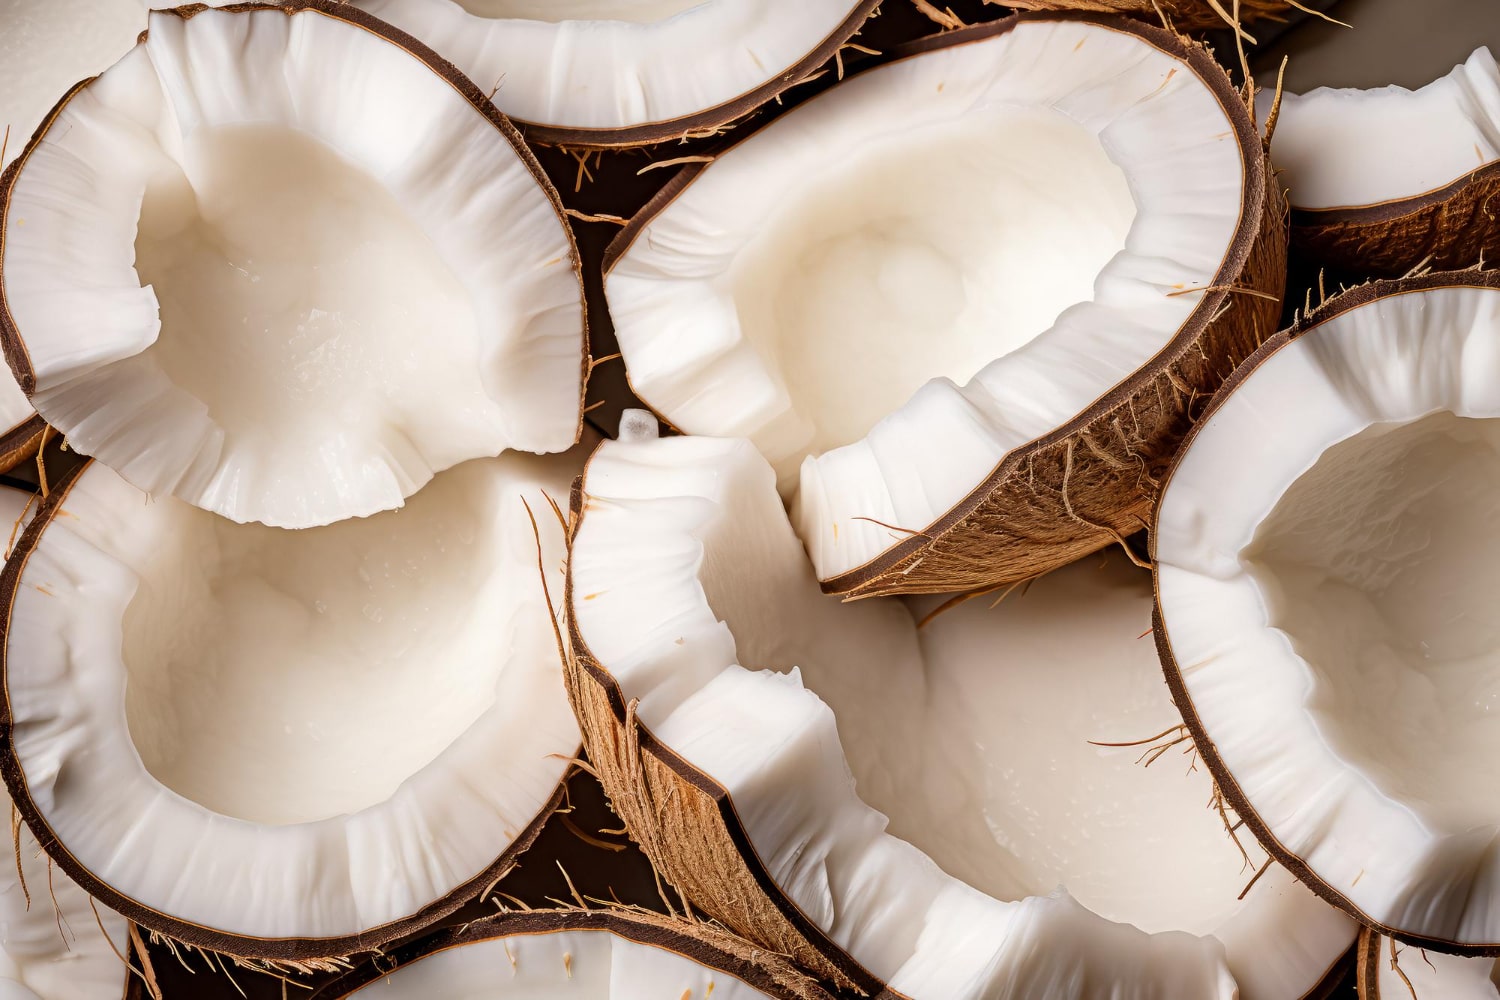
Caring Coconut Soap
Coconut is an absolutely fundamental fragrance for summer cosmetics. The tropical aroma has the power to put us instantly into an upbeat, holiday mood, whether we’re somewhere exotic or just relaxing at home.
This recipe uses our Coconut Oil, Unrefined (Virgin) Organic. The oil has its origin in Sri Lanka and is mechanically pressed from the dried Kernal flesh of the coconut before being filtered. The soap combines the beautiful fragrance of coconut with the caring, skin-softening property of the oil.
British Summer Sun (with exfoliating strawberry seeds)
Our inspiration for this soap recipe is the combination of flavours found in a much-loved British summer drink. Using lemon, mint and strawberry seeds, this soap delivers a refreshing experience and also exfoliates the skin.
For the fragrance, begin by using our Lemon, Essential Oil. This sensational citrus oil is wild harvested from the roaming Italian hills; the lemon peel is expressed for its oil, bursting with citrus aroma and flavour. The oil is also rich in vitamin A, B & C.
Next, add Peppermint Water, Organic (Hydrolat). This water is distilled from the peppermint plant at the highest level of purity to ensure a pure, premium hydrosol. Hydrosols (waters) are the aromatic remains after the steam-distillation process of the physical raw material. They are an excellent complement to essential oils because they are very gentle in their profile. The hydrosol smells like a deeper, earthier version of our Peppermint Essential Oil. (The product is so gentle it has also proved very popular in a wide range of baby products. And it is a great relaxant aroma, hence its popularity as aroma mists, and mostly pillow mist.)
Finally, add the Strawberry Seed, Exfoliant (Ground). This product comes from Eastern Europe and is powder-like, giving you a very fine exfoliator. This is a natural and effective means of removing dead skin to bring you a revitalised, smooth new layer of skin.
So that concludes our ultimate, melt and pour soap making guide. When you’re thinking about bar soap designs and fragrance combinations, remember that we have a very wide range of essential oils to choose from and that these recipes are just the starting point for your own soap making journey!
Please note that the views/opinions expressed in this blog are solely our own. It is the responsibility of our clients to conduct the necessary testing to substantiate any claims and ensure compliance with industry standards for every ingredient. We will not accept any liability for claims made based on our content.